Making of – The Brown Brick Residential by STUDIO84
The Brown Brick Residential was designed by architectural office PWA based in Warsaw/Poland. My goal in this project was to impress the client by showing the concept and materials the best possible way. The building is located in Warsaw, close to the city center, surrounded by lots of greenery.
About author.
Konrad Jamrozik – STUDIO84
I’m an architect by education and 3D graphic artist by passion. I graduated in Landscape Architecture and Architecture from Cracow University of Technology. I started to get interested in rendering during studies and I developed it after, giving up working as an architect. However, studies help me in my work, as I work much with architects and their drawings. My hobby turned into my work, so I opened Studio84 and Shop-S84 .
Inspiration/Reference.

Rendered/Enginee.
In March this year I started to work with a new, for me, renderer Corona, as I usually work with V-Ray. This project was one of the first I made with this discovery. I was and still am delighted with its possibility. Especially the Lightmix – playing with natural and also artificial light. Everything can be changed in realtime during the rendering process.One setting of camera lets create couple of lightning variants with no need of rerendering the scene – a big WOW for it. Also the preview of materials is better. However, oddly enough, I use V-Ray camera, as it has much more options – like f-number, film gate, focal length, white balance, and vignetting. It works similar to a photo camera and gives you more control, than a standard 3DsMax camera.
Modelling.
The model of the building was made in SketchUp and delivered to me. It needed some adjustments including chamfering the edges and adding detail of metal treatment. It gave the building much more data and noticeable softness and lightness.

I usually use ready models, as I think, that building it all up from basics is a waste of time. I have my own collection of 3D models, most of them are bought, some are free or made by me. It is easier and faster to choose from something you already have and lets you build an interesting and detailed scene.
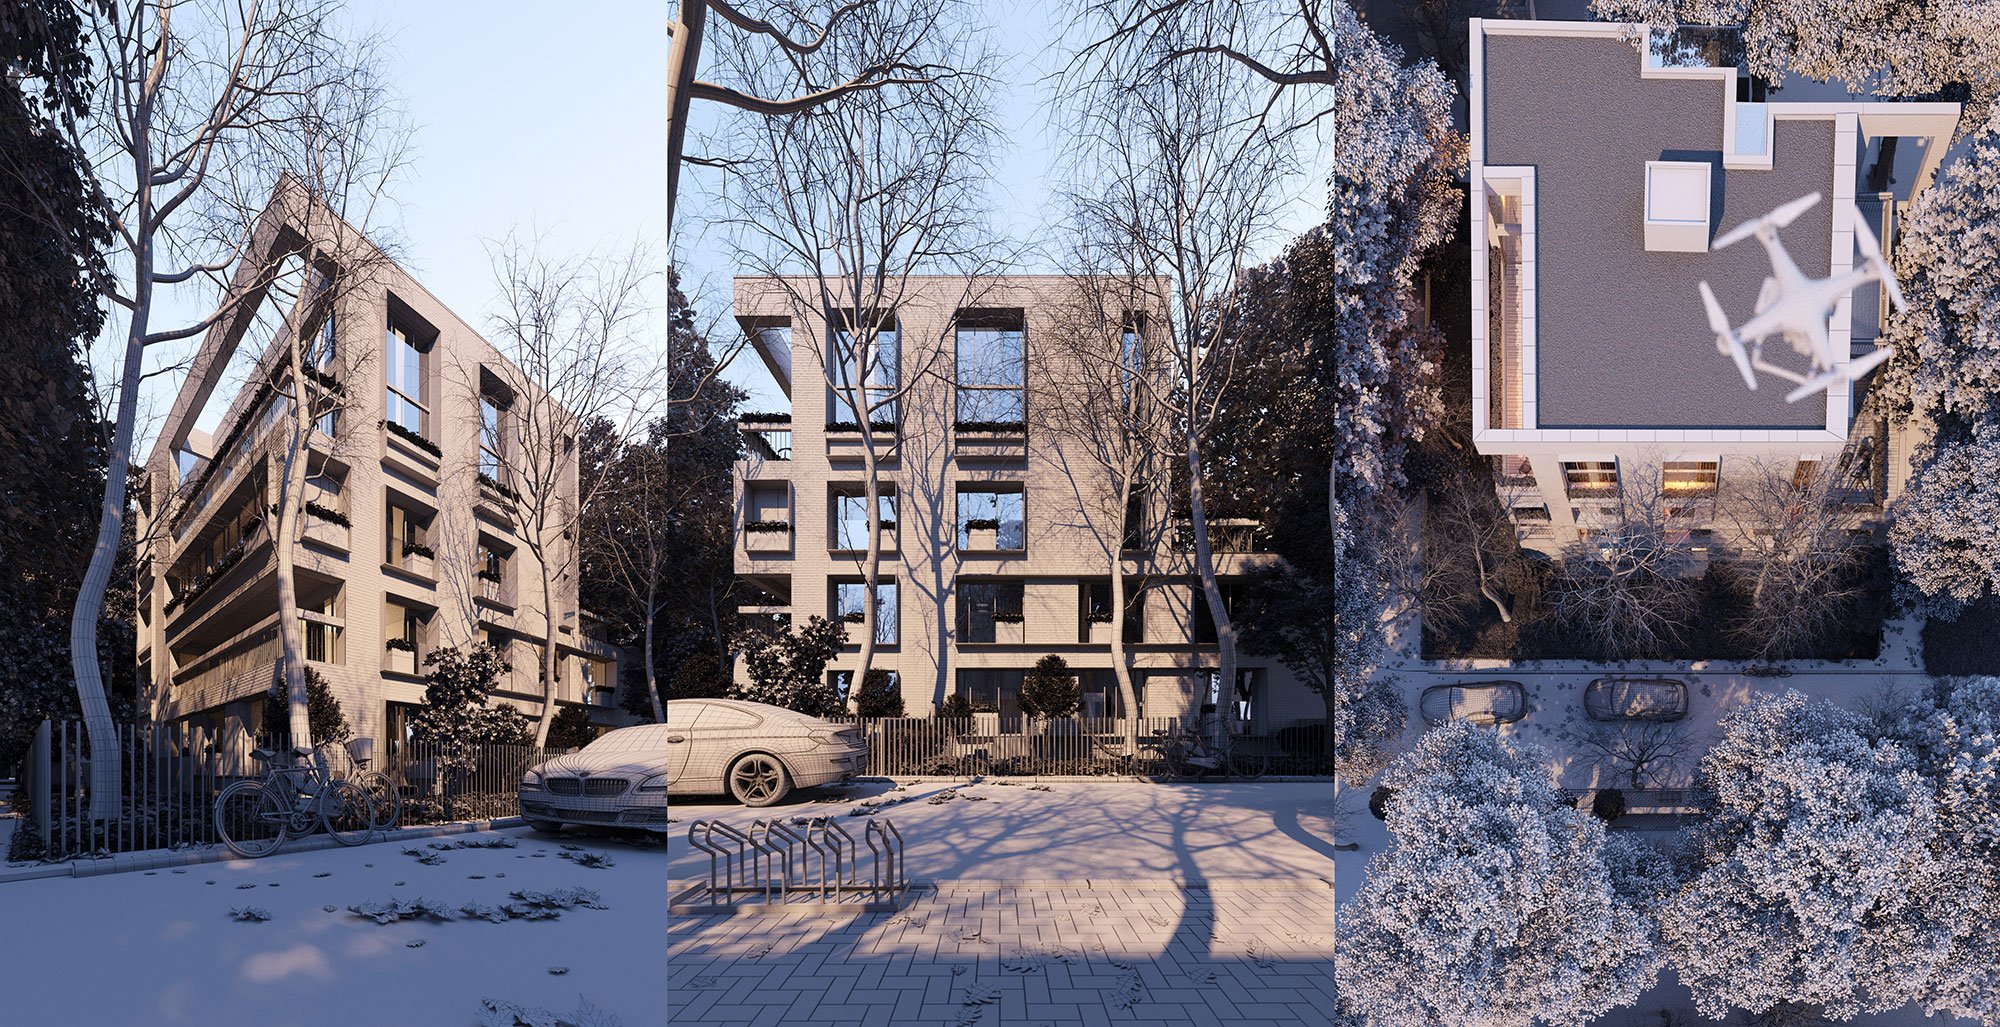
In this project I used ready models form Viz-People – cars, bicycles, chairs, sunbed and the hammock. I think they are really proper made. Good to know is, that they have different types of model for distance shots and for close-up (collections of cars). First ones with less complicated geometry (low poly) are better for work in viewport, as they weigh less and you can use plenty of them in large scale scene. Second ones are high quality 3D models with compact mesh. Furthermore, VizPeople models often own normal maps, which is a substitute for displacement map and shortens rendering time and consumption of RAM – which is really important especially in Corona. They really make world class3d models.

Environment.
Greenery is a foretaste of next section, that I am preparing. My handmade plants collection. Grass and apple tree were specially made for this project using growFX.
Grass collection were specially made for this project using GrowFX.
Leaves, stones, grass blades and daisies from ForestPack.
Other trees and bushes from Evermotion collections. Scattered by AdvPainter.

Materials/Textures.
Here you can see some of my shaders settings. I have to admit, they are very simple.
I created my own library of materials which I try to use as often as it is possible. I made them in Vray. To use it in Corona I use Corona Converter Script which allows to convert Vray materials into Corona materials. It is surprising, but it works very good and only sometimes it needs some tweaks and changes.

I used only diffuse/reflection/bump slots and often Color Correction to enhance contrast, hue and saturation value, as you can see in the picture above. Also CoronaDisplacementMod was added as a modifier to the brick geometry. In my opinion, good textures are enough and are the base to create good materials with no tailing.
Lighting.
Since I created my own collection of hdri I didn’t use any others. To light this scene used my newest HDRI_CLEAR_1829 (you can find it here: shop-s84.com). For sun I use Corona Sun. All the lights are connected to LightMix including artificial interior lights.

HDRI_CLEAR_1829 – Choosing good background is a key to good lighting. It also requires less work in postproduction if it is necessary.

I used only one HDRi map for day and night renders. It can be easily done thanks to Lightmix. Above I show the result, that can be achieved in one scene by playing with this tool.
Render setup – default setup.
Render settings – I need to admit, that I left them, as they were – without special nosiness. I used default setup. Picture below shows setting for bird view scene. I wanted to check (and have fun) with depth of field in Corona. It requires use photographic exposure and depth of field to be marked and then you can change f-number/shutter-speed/ISO and sensor width and wait for result

Final renders
There is no need to do special improvement in graphic program after rendering in Corona. Final renders are presented below and all of their post production was done within this engine. Last visualization was color corrected inside Affinity Photo.